I’ve tried out Squarespace as an ecommerce platform and website builder for small businesses.
It’s popular for a reason – advanced features and user friendly design, so even beginners can use it.
Setting up an online store with Squarespace is easy.
Create an account, add products, set up payment and fulfillment options, design the site and once everything is in place upgrade the account and the store is live.
14 day free trial so you can test most of the commerce features before committing to a paid plan.
Step 1: Create Your Squarespace Store
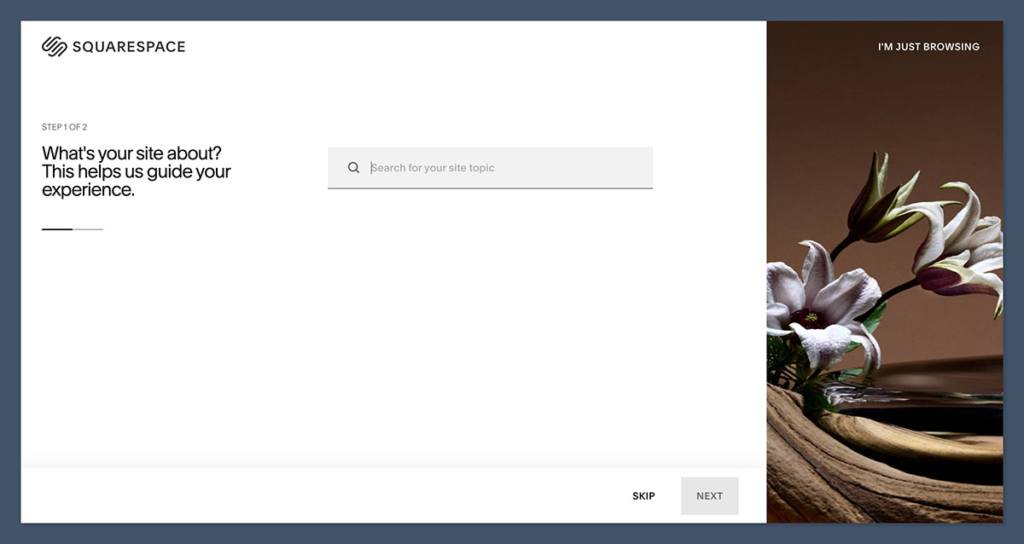
To start building your online store with Squarespace I recommend starting a free trial.
Go to the Squarespace website and click “Get Started” to begin.
Squarespace is different in that you can choose a template before you create your account.
Use the selection checklist to filter options and make sure to select “Online Store” under the “Type” category. This will show you all the ecommerce templates. Use the “Preview” feature to check out each design.
Once you’ve chosen your template you’ll enter a setup wizard.
Create your account with Google, Apple, Facebook or email. It’s quick and easy.
Once logged in you’ll see your dashboard. I like the Squarespace Assistant – it gives you a short video overview of the platform.
To set up your store click “Commerce” from the dashboard, you’ll be asked a few questions about your selling experience and product plans.
The Commerce section has a helpful checklist to walk you through the setup process.
Take a minute to get familiar with the layout – you’ll see a navigation menu on the left and store building steps in the middle.
Step 2: Populating Your Store
Adding Items to Your Inventory
I’ll walk you through adding products to your Squarespace store.
From the dashboard click “Products: Add products to your inventory” in the setup wizard. If you’re not ready you can do this later by going to “Commerce” in the main menu.
Squarespace supports different product types: physical products, digital downloads, memberships, appointments, services and video on demand.
When adding items you’ll be asked to specify the product type and where you want to display it, this will determine what information is required for the product page.
Product Details
I recommend filling out as much information as possible for each item. Start with a great name and description.
Upload high quality images of your product. Assign categories and tags to make it searchable. Set prices, manage inventory and create variations if needed.
The product page has several sections to customize:
- Basic Info: Name, description and additional content blocks
- Images: Featured, primary, variant and social sharing images
- Pricing and Options: Regular and sale prices, quantity, SKUs and variants
- Categories and Tags: Organize and make it discoverable
- Visibility: Schedule, hide or publish now
- Marketing: SEO settings and social media sharing options
- Checkout: Customize buttons and collect customer info
Displaying Your Products
Squarespace has store pages for multiple items and detail pages for individual products. When uploading images consider:
- Featured image (can be different from primary)
- Primary image
- Variant images
- Alternate social sharing images
To set a featured image click “Featured Image” in the editor and upload a new one. Don’t forget to save.
Pricing and Inventory
Here I can set regular and sale prices, track quantity and assign SKUs.
Squarespace generates SKUs automatically but I can create custom ones if I want to.
For products with variations I can add up to six options (e.g. size, color, material) with a maximum of 250 variants.
Each variant has a 100 character limit. To edit options or add variants I click “Manage options” in the product editor.
I can assign unique images, SKUs, stock levels and prices to each variant using the “Edit All” feature.
Categorizing with Categories and Tags
To make it easier to navigate I use categories and tags.
I click “Add” to create new categories and enter relevant tags. When choosing tags I think about what buyers might search for.
Formatting:
- Tags: 80 characters
- Categories: 25 characters
- Case sensitive
- Alphabetical order
Product Visibility
Squarespace gives me flexibility with product visibility. I can:
- Publish now
- Schedule for later
- Keep hidden until ready
I can also display products in Summary Blocks on site pages, like featuring a product on the homepage.
I can also enable related products and Etsy reviews on product pages.
Marketing
In the marketing section I can:
- Permalinks
- SEO titles and descriptions
- Social media sharing images and excerpts
Product names have a 100 character limit, descriptions have a 400 character limit.
I can customize the image and description for social media to make it more visible and appealing.
Checkout
The checkout section allows me to:
- Customize button text
- Create custom form for additional customer info
- Set up recurring payments for subscriptions
Once I’ve filled out all the product details I click “Save” at the top right of the editor. I can publish now, schedule for later or keep it hidden until I’m ready to publish.
For products not yet available I click “Save” instead of “Save & Publish” to keep them hidden until launch.
Step 3: Payment Options
To start taking payments you’ll need to set up your payment methods.
Go to the “Payments” section of your Commerce dashboard to get started.
Choose your store’s primary currency. Then connect your preferred payment providers.
Squarespace supports Stripe and PayPal for online payments. If you’re in the US and want to take in-person payments you can integrate with Square.
For customers who want flexible payment options consider enabling buy now, pay later services. Afterpay and Clearpay are available if you use Stripe as your payment provider.
I recommend setting up multiple payment options to cater to different customer preferences. This will increase conversions and make the checkout process smoother.
Tax
Tax setup is important for your online store.
Depending on where you’re located you may need to charge tax in your state and where your customers are.
To make it easier I can use tax-inclusive pricing. This way the sales tax is included in the product price so customers can see the total cost upfront.
Check your local regulations to make sure you’re complying with all tax requirements. Always good to consult with a tax professional if you’re unsure.
Step 4: Delivery Options
Sending to Customers
I can set up shipping options for my online store through the Commerce dashboard.
I click “Shipping” in the Setup menu and I have various options.
I can choose flat rate shipping, weight-based rates or calculations from carriers like FedEx, UPS and USPS. Free shipping is also an option I can choose.
For international shipping or different carriers I can use third-party extensions like ShipBob and ShipStation.
In-Store Pickup
I can allow customers to pick up their orders in person. This is a great option for local customers who don’t want to wait for shipping.
To enable this I’ll need to provide my store name, address and any specific instructions for pickup. This will help customers find my store when they come to collect their orders.
Step 5: Design Your Site
Select Design Elements
I’ll start by setting up site styles. In the main menu I go to “Design” and then “Site Styles”. Here I can choose fonts for headings, paragraphs and buttons.
I select colors that match my brand and decide on animations for site elements.
I also configure button styles, image settings and other design elements like favicon, lock screen, 404 page and social sharing image.
Customize Template
I click “Edit” at the top of the page to edit my template. I start with the site header where I enter my business name and upload my logo.
At the footer I scroll to the bottom and add sections with my contact info, social media links and a newsletter signup form.
Throughout the page I add new sections using the “Add Section” button and add elements like headlines, images, galleries and special features like appointment bookings or product displays.
Design Your Shop Pages
I click on the Shop navigation and select “Edit” to edit my store.
I add sections and choose which products to show.
For individual product pages I click on a product, hit “Edit” then “Edit Design” and choose a format that works on both desktop and mobile. I always remember to save.
Site Structure
In the “Pages” section of the main menu I can see all my site’s pages.
I add new pages by clicking the “+” sign next to “Main Navigation” and choosing from blank or premade templates.
To remove pages I hover over the name and click the trash icon. I rename pages and adjust the navigation title as needed. I drag and drop page names to reorder them in the navigation bar.
Step 6: Launch Your Store
Now it’s time to publish your online store and get your custom domain. I’ll show you how to do it.
First you need to upgrade to a paid plan.
Click your username in the bottom left corner of the main menu.
This will take you to your Account Dashboard. Find your site in the list and click the three dots next to it.
Select “Billing” to choose a premium plan.
For selling products you’ll want either the Business, Basic Commerce or Advanced Commerce package. These cost from $33 to $65 per month.
The Personal plan doesn’t support ecommerce so avoid that one.
Once you’ve upgraded you can swap out the generatedID.squarespace.com address for your brand’s domain name. This will give your store a more professional look.
Now that your store is live you need to start driving traffic.
Squarespace has built in tools for SEO, email marketing and social media campaigns. I recommend getting into these features to get visible.
Try these to promote your new store:
- Optimize your product pages for search engines
- Create social media content
- Send targeted email campaigns to your subscribers
- Run special promotions or launch events
- Collaborate with influencers in your niche
Remember building an audience takes time and consistency.
Keep tweaking what works for your brand.
Conclusion
Squarespace is a great website builder for small businesses getting into online sales. I love the templates, the drag and drop interface and the ecommerce features.
The pricing is competitive and a 14 day free trial means you can test before you commit. If you’re ready to launch a store then Squarespace is definitely worth a look.


