
 By Bogdan Rancea
Shopify can write theme code from a plain-English prompt, so why do AI edits still break? Learning how to customize a Shopify theme starts with choosing the right tool and keeping experiments off your live store.
We recommend native Shopify AI first, then ChatGPT or Claude for complete Liquid sections. Use page-builder apps when you need repeated campaign layouts or more visual control, not simply because your theme needs a better headline.
Key Takeaways
- Duplicate your theme first. Keep the published storefront untouched while you test.
- Generate blocks with Sidekick. Choose a compatible section and refine the result before saving.
- Install full sections through Edit code. ChatGPT or Claude can write the file, including its schema and presets.
- Treat Canvas as optional. Its early-access workspace redesigns stores by chat, but the edited copy cannot return to the classic editor.
- Test apps before subscribing. Free tiers have publishing limits, and AI credits can restrict revisions.
| Edit you want | Best AI tool | Where you’ll find it | Covered in |
|---|---|---|---|
| New block inside a section | Sidekick AI block generation | Theme editor > Add block > Generate | Step 3 |
| Headlines and text | Shopify Magic / Sidekick | Generate text in supported fields | Step 4 |
| Images and styling | Sidekick, AI-written CSS | File editor / theme settings | Step 4 |
| Whole-store redesign | Shopify Canvas, early access | Themes > Duplicate in Canvas | Step 5 |
| Full custom section | ChatGPT or Claude | Edit code > sections | Step 6 |
| Landing pages | AI page-builder apps | Shopify App Store | Step 7 |
Step 1: Pick an AI-Ready Theme and Duplicate It First
Keep AI experiments away from the published theme. An unpublished duplicate lets you change layouts and code without changing the storefront customers see.
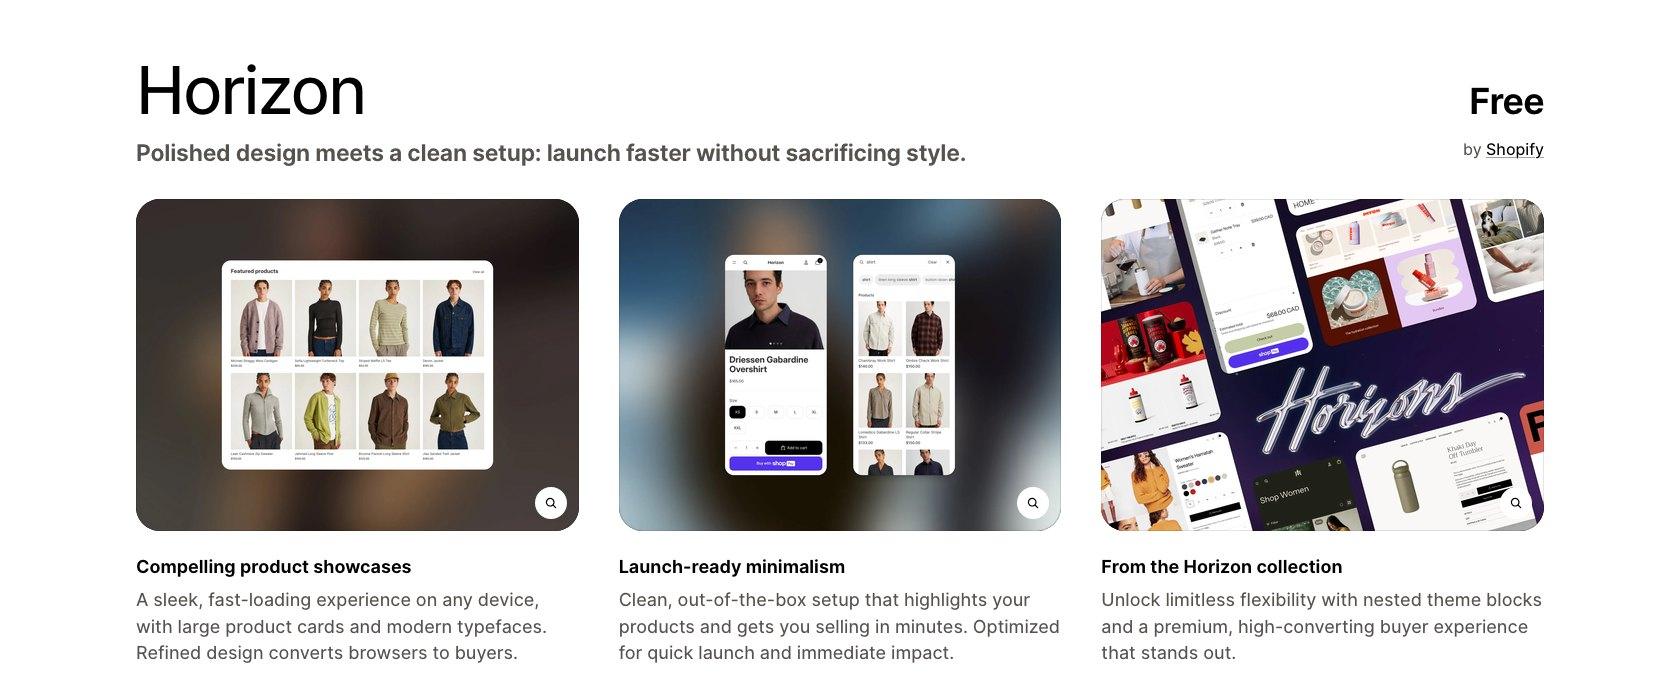
For a new store, we recommend a free Horizon-family theme. These themes use theme blocks natively, making them a straightforward starting point for Sidekick-generated elements.
For an existing store, check compatibility before switching designs. Your current theme may already support the AI features you need.
| Theme type | Examples | AI block generation | Canvas support | Best for |
|---|---|---|---|---|
| Horizon family, free | Horizon, Savor, Fabric | Native theme-block support | Eligible, subject to access | New stores |
| Paid Theme Store theme, roughly $100 to $380 one-time | Varies | Compatible sections; purchase required | Third-party themes not supported | Distinct starting designs |
| Older free Online Store 2.0 theme | Dawn | Older sections need code changes | Eligible, subject to access | Existing stores |
| Vintage theme | Non-Online Store 2.0 themes | Not supported | Don’t use as your starting point | Migration |
- Check the architecture. Go to Online Store > Themes > three-dot menu > Edit code. Look for a blocks folder.
- Check the section too. The folder signals theme-block support, but individual sections must accept those blocks. Step 3 explains the requirement.
- Duplicate the theme. Return to Themes, open its three-dot menu and select Duplicate.
- Rename the copy. Use a recognizable name such as AI test – Nov. Make subsequent edits only there.
No blocks folder? Try a compatible section or a spare Horizon theme before asking AI to rewrite your established theme’s architecture. Changing architecture introduces more risk than adding an isolated block.
[Screenshot to add: Shopify Themes page with the current theme’s three-dot menu open and Duplicate visible]
Duplicate the working theme before making AI changes. Source: ecomm.design
Keep the original theme. Removing an unpublished theme is permanent; don’t delete your backup to tidy the library.
Milestone: You have a named duplicate and know whether its sections support theme blocks.
Step 2: Learn the Theme Editor: Sections, Blocks and Theme Settings
Change brand colors and fonts through settings before asking AI to write code. Knowing which layer controls an edit makes your prompts more precise and prevents unnecessary custom files.
Open Online Store > Themes > Customize on your duplicate. Locate these controls:
- Left sidebar: The current template’s sections and their blocks.
- Center preview: The page you’re editing.
- Settings panel: Controls for the selected section, block or theme setting.
- Top bar: Template selector, device views, Sidekick and Save.
For Shopify theme customization, distinguish these layers:
- Sections are larger page components, such as a hero or featured collection.
- Blocks are pieces inside sections, such as headings and buttons. Supported controls let you add, hide and reorder them.
- Theme settings control shared styling across the storefront, including typography and color schemes.
| What you want to change | Where in the editor | Level |
|---|---|---|
| Brand colors | Theme settings > Colors | Global |
| Fonts | Theme settings > Typography | Global |
| Hero image or text | Home > relevant banner section | Section |
| Button or testimonial | Compatible section > Add block | Block |
| Product page layout | Product template dropdown | Template |
| Supported chat integration | App embeds | App |
[Screenshot to add: Horizon theme editor showing an expanded section in the sidebar, a selected block and its settings]
Select a block to see its individual controls. Source: ecomm.design
- Choose a template. Switch from Home to a product or collection template. A JSON template supports up to 25 sections.
- Practice a reversible edit. Add a supported block, reorder it, then hide it. Watch the preview after each change.
- Open Theme settings. Locate color schemes and typography before generating custom CSS.
Check template assignments. A layout change affects pages using that template, not just the product currently visible in the preview. Product descriptions and prices belong to product records, not the theme layout.
[Screenshot to add: Theme settings panel showing Colors and Typography controls]
Use global settings for styling shared across pages. Source: ecomm.design
App embeds control supported integrations separately from content blocks. Check them again before publishing.
Milestone: You can add, hide and reorder a block manually before asking Sidekick to generate one.
Step 3: Generate Custom Blocks With Sidekick AI
AI block generation is no longer Horizon-only. Since December 2025, it works across Theme Store themes whose selected sections support theme blocks.
Start with one custom element inside an existing section, not a complete homepage redesign. This keeps the generated code isolated and gives you a specific result to inspect.
- Open your duplicate in the theme editor and select a compatible section.
- Choose Add block > Generate. If Generate isn’t visible, open Sidekick in the top bar and enter your request there. This doesn’t bypass compatibility requirements.
- Describe the result. Specify the content, interaction and settings you want to control.
- Use Follow up instructions. Refine the preview before saving.
- Save and configure. Fill in the block’s settings, then inspect its mobile layout.
Try this Shopify AI block generator prompt:
Create a product grid block with cards that show a soft drop shadow
and lift slightly on hover. Each card shows the product image, title,
price and an Add to cart button.

Add settings for product selection, number of columns, card background
color and button label. Match the theme's existing typography.
Then refine the preview:
Make the cards stack in one column on mobile and increase the gap
between them. Keep product images fully visible.
[Screenshot to add: A compatible Horizon section’s Add block menu with Generate visible]
Choose a section that accepts theme blocks before generating one. Source: ecomm.design
Check these requirements before rewriting the prompt:
- Section compatibility: The section schema must accept
@themeblocks and render{% content_for 'blocks' %}. Older Dawn sections don’t support this by default. - Permissions: Use an account with Edit code permission.
- Plan availability: Starter doesn’t support custom blocks. Check feature availability in your store rather than assuming every other plan has identical access.
- Theme purchase: Purchase paid third-party themes before using this workflow; trial installations don’t qualify.
- Post-save editing: Saved generated blocks don’t accept follow-up prompts through the original generation flow. Edit settings or code, or generate a replacement.
- Support: Review the output yourself. Shopify Support doesn’t debug AI-generated block code.
Generated blocks are not section files. Their Liquid belongs to a theme block, with Shopify’s platform-generated _blocks.liquid providing a wrapper where needed.
[Screenshot to add: Generated product grid preview with the Follow up instructions field visible]
Refine layout and behavior before saving the generated block. Source: ecomm.design
Test the requested interaction, not just its appearance. For product cards, confirm that each button handles the selected product correctly. A convincing card design does not prove its cart behavior works.
Milestone: Your saved block exposes the settings you requested. Stay with this route for elements inside existing sections; use Step 6 for a standalone section.
Step 4: Use AI to Edit Copy, Images, Colors, Fonts and CSS
A custom block won’t fix generic headlines or inaccurate product imagery. Use native AI for content, then apply targeted styling instead of generating another layout.
- Write copy: Click Generate text in supported fields. Specify your audience and tone; remove claims your products cannot support.
- Edit images: Use Shopify’s native AI image tools, including Sidekick prompts in the file editor where available. Preserve the actual product’s appearance.
- Target a design change: Open Sidekick’s plus menu > Target, select the section and describe the change. Request a sticky header, for example, then inspect the preview.
- Choose colors and fonts: Ask ChatGPT or Claude for a palette with hex codes and a typography direction. Apply available choices through Theme settings.
- Generate CSS: Supply the relevant selectors and the field’s character limit. AI cannot reliably infer your theme’s HTML.
- Draft translations: Supply the original copy to ChatGPT or Claude and preserve product names. Have a fluent reader review the result before adding it through your store’s translation workflow.
For Shopify Magic copy, use a constrained prompt:
Write a homepage heading and short supporting sentence for a ceramic
tableware store aimed at people furnishing their first home.
Use a warm, plainspoken tone. Don't invent durability claims,
discounts or shipping promises.
Constrain image edits too. Ask for “a warm neutral background, preserving the bowl’s exact shape, glaze color and proportions.” Compare the result against the original before using it on a product page.
| Custom CSS location | Path | Character limit |
|---|---|---|
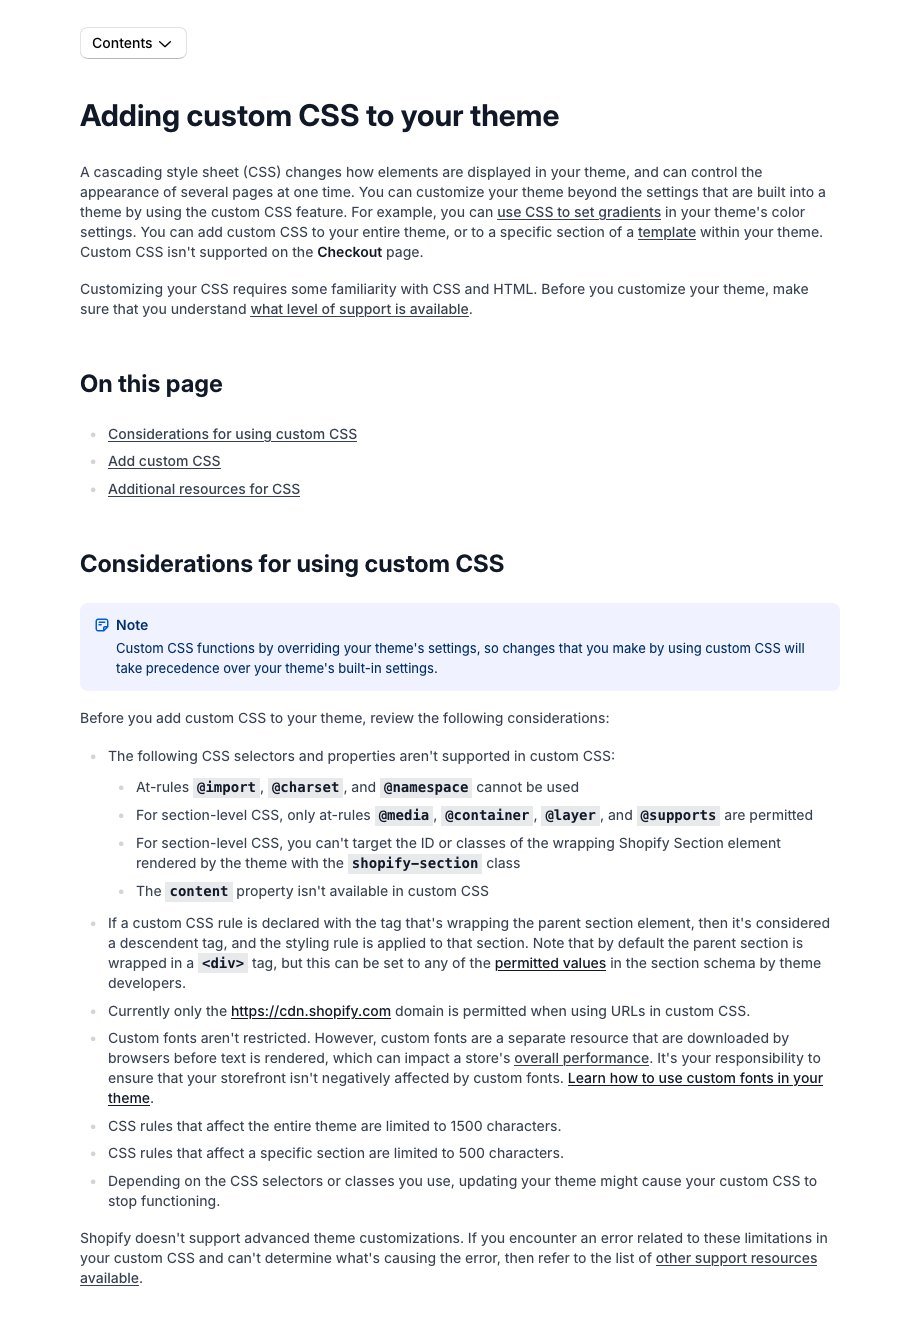
| Theme-wide | Theme settings > Custom CSS | 1,500 |
| Per section | Bottom of section settings | 500 |
Respect the CSS restrictions:
- Blocked features: No
@import,@charset,@namespaceorcontentproperty. - External URLs: Use
cdn.shopify.com. - Section targeting: Don’t target the wrapping
shopify-sectionelement. - Section at-rules: Use only
@media,@container,@layerand@supports. - Checkout: Theme Custom CSS doesn’t apply there.
Write CSS under 500 characters for a Shopify section's Custom CSS field.
Use these selectors: [paste selectors].
Make buttons rounded with background #1F3A2E.
Stack columns below 750px. No @import or shopify-section targeting.
[Screenshot to add: Section settings panel scrolled to Custom CSS with a responsive styling rule]
Keep section-specific CSS within the field’s character limit. Source: ecomm.design
For longer CSS, use a theme stylesheet or a Custom Liquid section with a scoped <style> tag.
Milestone: Your content and styling match your brand. Use Sidekick for described changes and CSS for precise selector-based fixes.
Step 5: Try Shopify Canvas for a Whole-Store Redesign (Optional)
Canvas can redesign multiple pages together, but its edited copy cannot return to the classic editor. Treat it as a separate experiment, not the next mandatory step.
Announced on October 1, 2026, Shopify Canvas remains in early access. Its Sidekick-driven workspace edits the underlying theme files rather than just exposing existing settings.
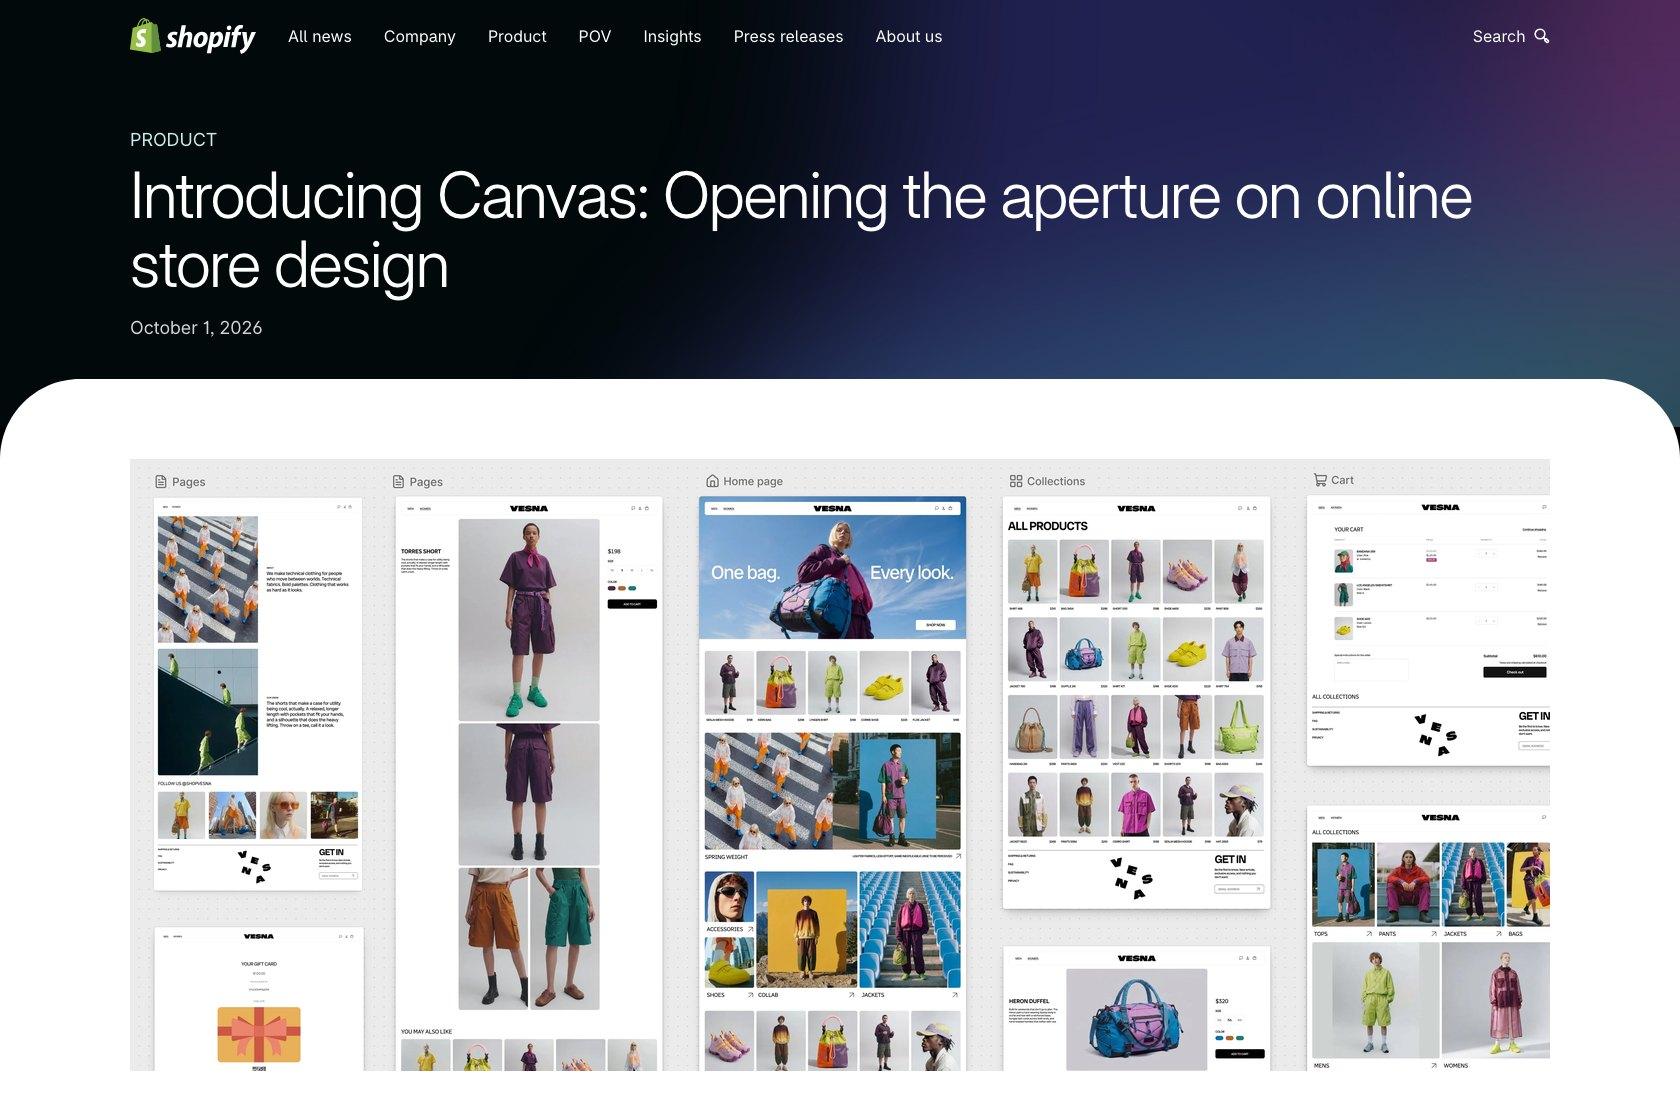
Canvas lets you:
- View pages together: Pan and zoom around a whole-store workspace.
- Request changes directly: Click an element or describe the change in chat.
- Preview real code: Inspect interactive results across products and screen sizes.
To check access:
- Open Online Store > Themes on desktop. Canvas is desktop-only.
- Choose a Shopify-made or custom theme, then open its three-dot menu.
- Look for Duplicate in Canvas. If absent, your store or theme may not be eligible yet.
You need Edit code permission and a plan supporting theme customization. Third-party Theme Store themes aren’t supported. No separate Canvas price has been announced.
[Screenshot to add: Shopify Themes menu showing Duplicate in Canvas on an eligible store]
The option appears only where Canvas access and theme eligibility allow it. Source: ecomm.design
Keep the original theme outside Canvas:
- No classic editor: The Canvas copy opens only in Canvas afterward.
- No theme updates or download: The edited copy loses both.
- No app blocks or embeds in Canvas: Existing extensions remain in code and can render in storefront preview and live, but not in the Canvas workspace.
- Autosaving: There’s no normal Save button. Undo doesn’t reverse Sidekick changes; use theme history.
- No market-specific customization or in-Canvas translation.
Give Sidekick brand context first. Describe your customer and desired visual direction, then redesign one page before expanding. Keep this experiment separate from the classic-editor duplicate used elsewhere in this guide.
Milestone: You have a spare Canvas experiment or a deliberate decision to skip it. We recommend skipping it when app integrations and ongoing theme updates are central to your store.
Step 6: Build a Custom Section With ChatGPT or Claude
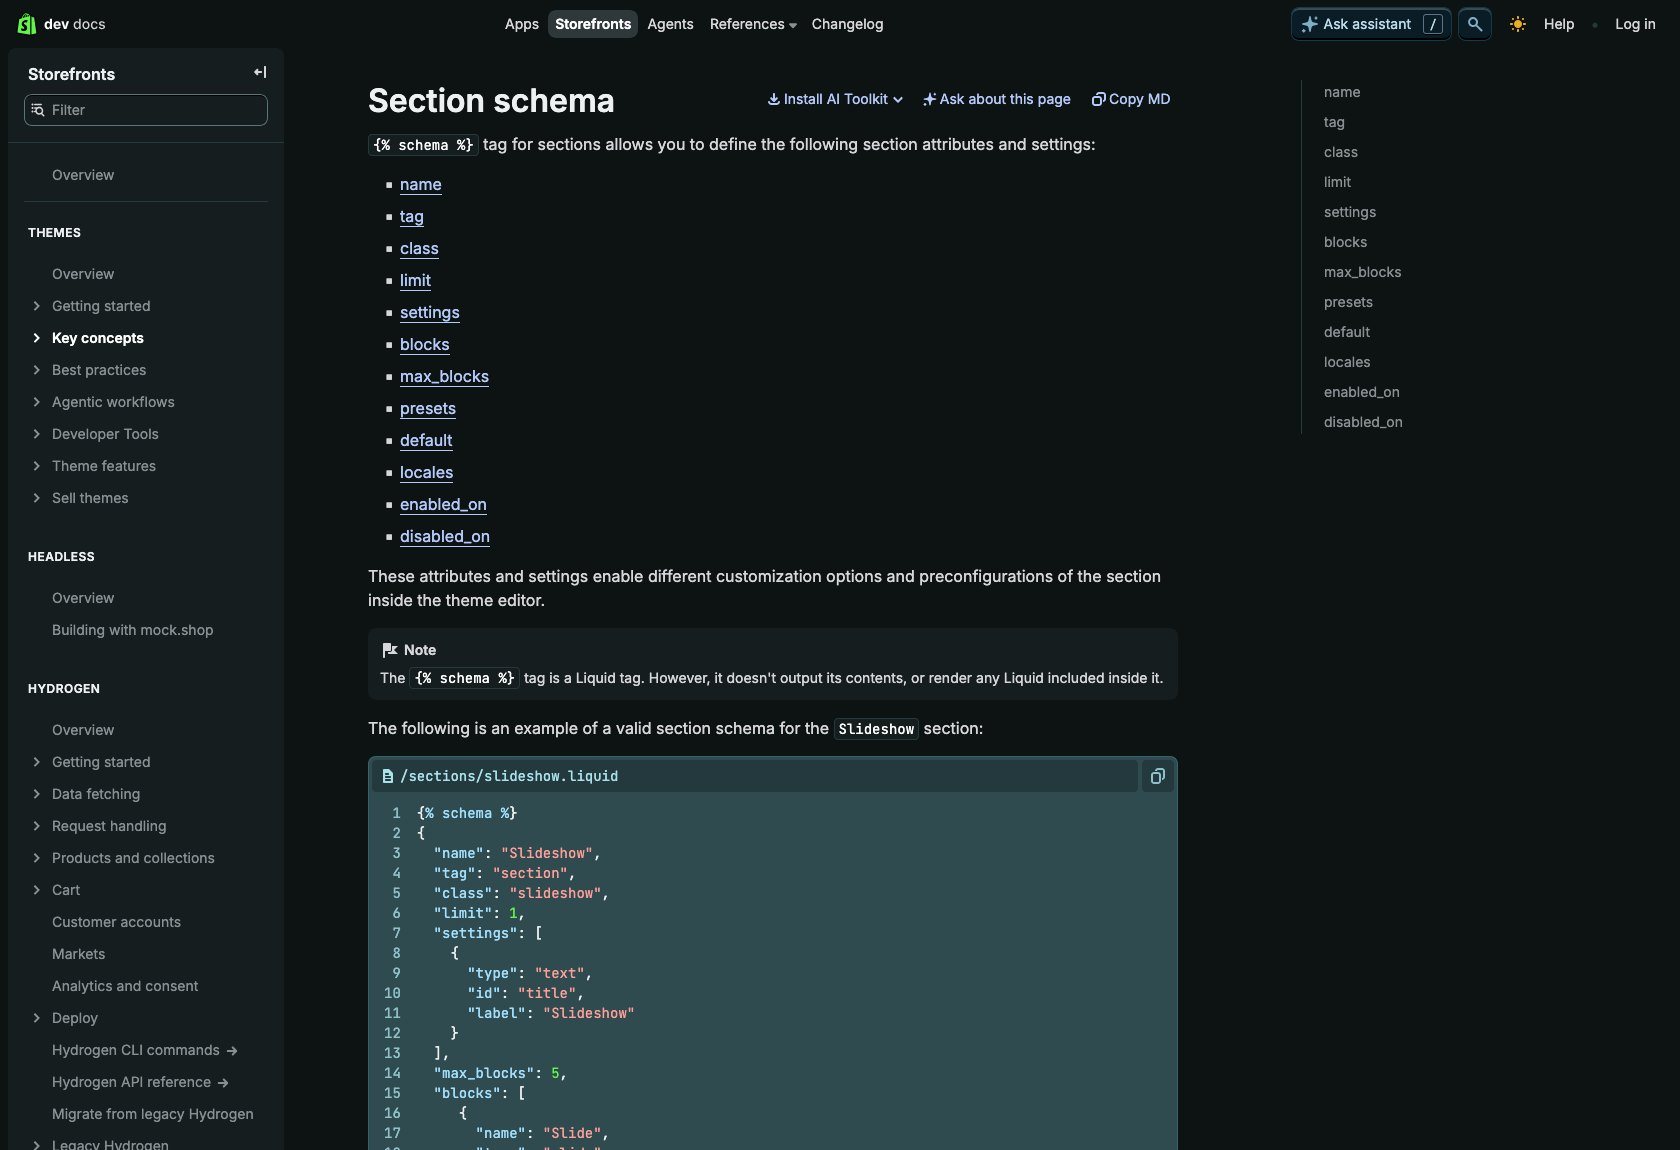
Don’t paste a full AI-generated section into Custom Liquid. A file containing {% schema %} belongs in sections/; the wrong destination produces an “Unknown tag ‘schema’” error.
Use ChatGPT or Claude when you need a standalone section with reusable settings. Keep working on the duplicate from Step 1.
Prompt for a complete section file
Write a complete Shopify Online Store 2.0 section file for Horizon
called "Feature comparison".

Show a heading, subheading and up to 4 comparison rows:
feature name, our product check and competitor check.

Requirements:
- One {% schema %} containing valid JSON.
- Heading, subheading, background color and color scheme settings.
- Rows as blocks with block.shopify_attributes.
- A named presets entry so it appears in Add section.
- CSS scoped to the section ID.
- Mobile-friendly layout; no external libraries.
Return only the file contents.
Make the prompt specific:
- Name your theme: Include its version if known.
- List the elements: Describe what the customer sees.
- Request settings: Identify what you need to edit without code.
- Require presets: Make the section available in the editor.
- Scope the CSS: Prevent changes to other sections.
- Request only the file: Keep explanatory text out of the code editor.
Compact example: Trust badges
This example demonstrates how to create a custom section in Shopify without external scripts. Replace its placeholder benefit with accurate store information.
<div id="section-{{ section.id }}">
  <h2>{{ section.settings.heading | escape }}</h2>
  <ul>
    {% for block in section.blocks %}
      <li {{ block.shopify_attributes }}>
        {{ block.settings.text | escape }}
      </li>
    {% endfor %}
  </ul>
</div>
<style>
  #section-{{ section.id }} {
    background: {{ section.settings.background }};
    padding: 2rem;
  }
  #section-{{ section.id }} ul {
    display: flex; flex-wrap: wrap; gap: 1rem;
    list-style: none; padding: 0;
  }
  #section-{{ section.id }} li { flex: 1 1 12rem; }
</style>
{% schema %}
{
  "name": "Trust badges",
  "tag": "section",
  "settings": [
    {"type": "text", "id": "heading", "label": "Heading",
     "default": "Why shop with us"},
    {"type": "color", "id": "background", "label": "Background",
     "default": "#F5F5F5"}
  ],
  "blocks": [
    {"type": "badge", "name": "Badge", "settings": [
      {"type": "text", "id": "text", "label": "Text",
       "default": "Add a verified benefit"}
    ]}
  ],
  "max_blocks": 4,
  "presets": [
    {"name": "Trust badges", "blocks": [{"type": "badge"}]}
  ]
}
{% endschema %}- Markup displays the heading and badge blocks.
- Settings create editable fields in the theme editor.
- Presets put “Trust badges” in Add section.
Install the section on your duplicate
- Open Edit code from the duplicate theme’s three-dot menu.
- Open Sections > Add a new section. Name it
trust-badgesto createsections/trust-badges.liquid. - Replace the starter code with the complete file and save. Don’t paste the surrounding Markdown fences.
- Open Customize > Add section. Select Trust badges, edit its heading and add badge blocks.
- Report errors precisely. Give ChatGPT or Claude the exact error and ask it to fix only that issue.
[Screenshot to add: Shopify code editor showing sections/trust-badges.liquid]
Create a section file rather than pasting schema into Custom Liquid. Source: ecomm.design
Keep these file rules intact:
- Schema: One schema block per section, containing valid JSON.
- Schema name: Maximum 25 characters.
- Liquid file size: Maximum 256 KB.
- Blocks: Maximum 50 per section; this example deliberately permits fewer.
- Presets: Required for this section to appear in Add section.
[Screenshot to add: Theme editor Add section picker showing Trust badges]
The named preset makes the section selectable in the editor. Source: ecomm.design
Check that settings persist. Change the heading and background, save, then reopen the editor. Reorder the badges and confirm the preview follows that order.
Milestone: The section appears in the picker and exposes working settings. Use Custom Liquid for simpler snippets without schema, not as a substitute destination for this file.
Step 7: Compare AI Section and Page Builder Apps
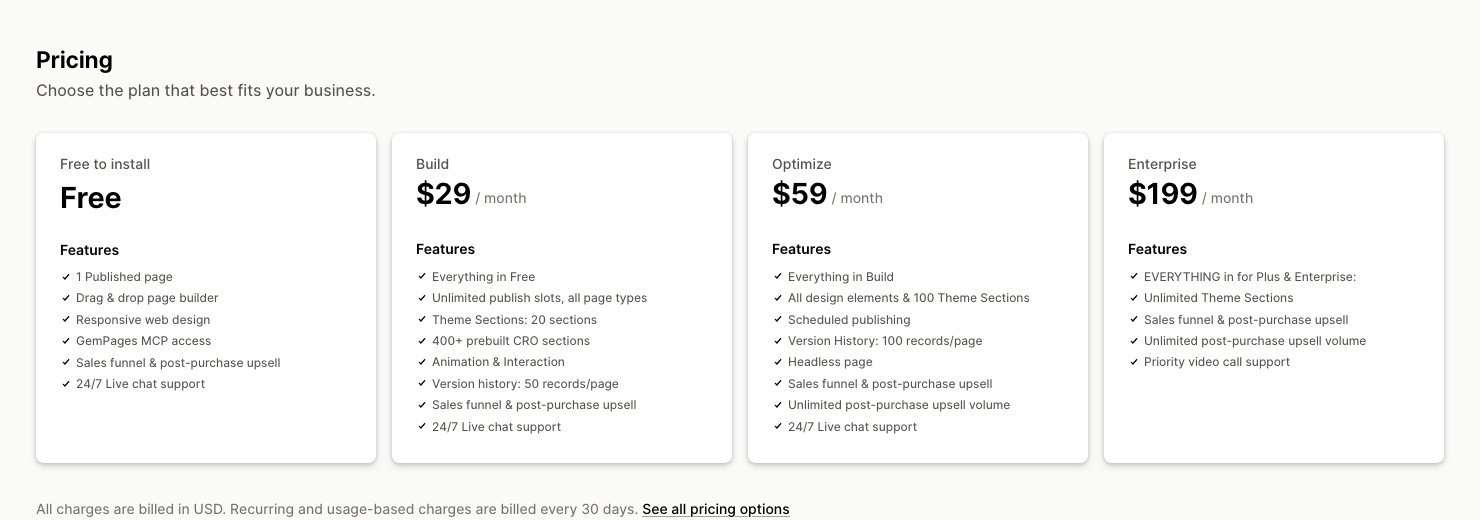
GemPages, PageFly and Foxify offer limited free plans, so test your actual layout before subscribing. An app earns its monthly cost when you need repeatable campaign production or visual controls beyond native blocks.
| App | Rating (reviews) | Free plan | Paid plans, USD/month | AI feature | Best for |
|---|---|---|---|---|---|
| GemPages | 4.9 (4,265) | 1 published page; MCP access | Build $29; Optimize $59; Enterprise $199 | Image-to-page, AI generation, MCP | Multiple pages; 20 theme sections on Build |
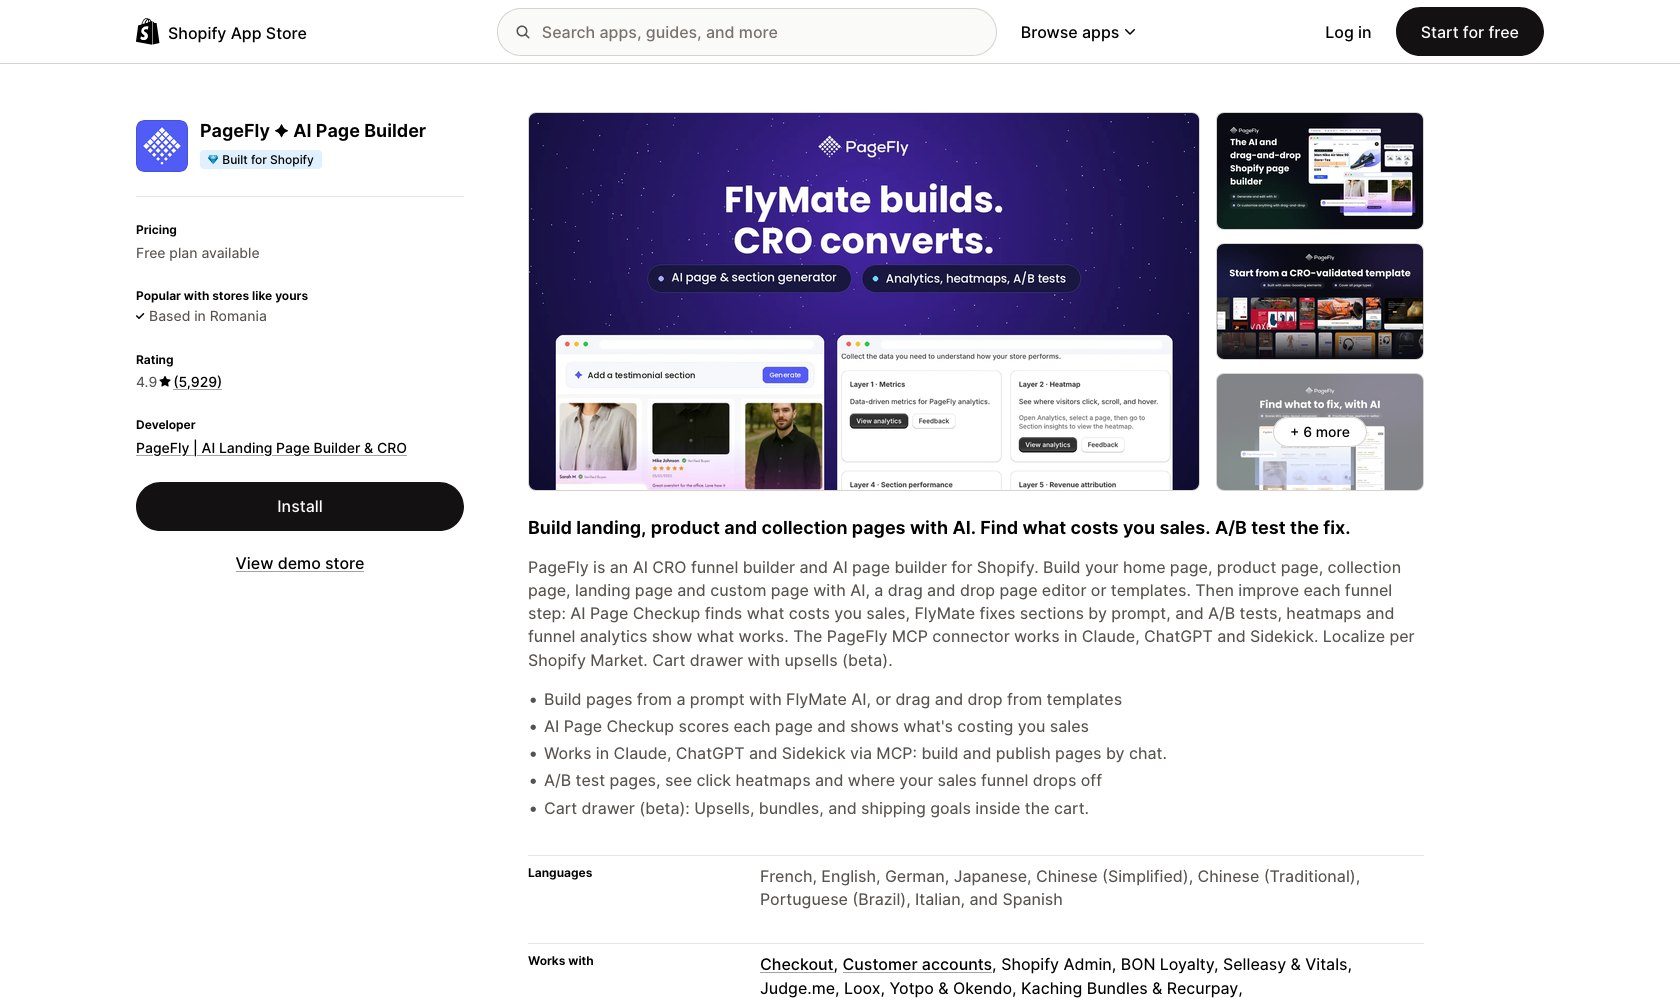
| PageFly | 4.9 (5,929) | 1 slot; 10 AI credits/month | Builder $24; Accelerate $99; Enterprise $299 | FlyMate AI; chat connectors | Budget building; A/B testing on Accelerate |
| Instant | 4.9 (356) | Development stores only | Starter $39; Pro $99; Business $249 | AI credits; Figma plugin | Figma-based workflows |
| Foxify | 4.8 (328) | 20 AI credits; 1 page; 1 section | Starter $19; Growth $39; Enterprise $99 | Foxie AI agent | Low-cost page building |
| Fudge | 4.9 (58) | Audits and brainstorming; no building | Launch $25 for stores under $2k revenue; Starter $79; Pro $349 | AI page and theme editing | Chat-led storefront changes |
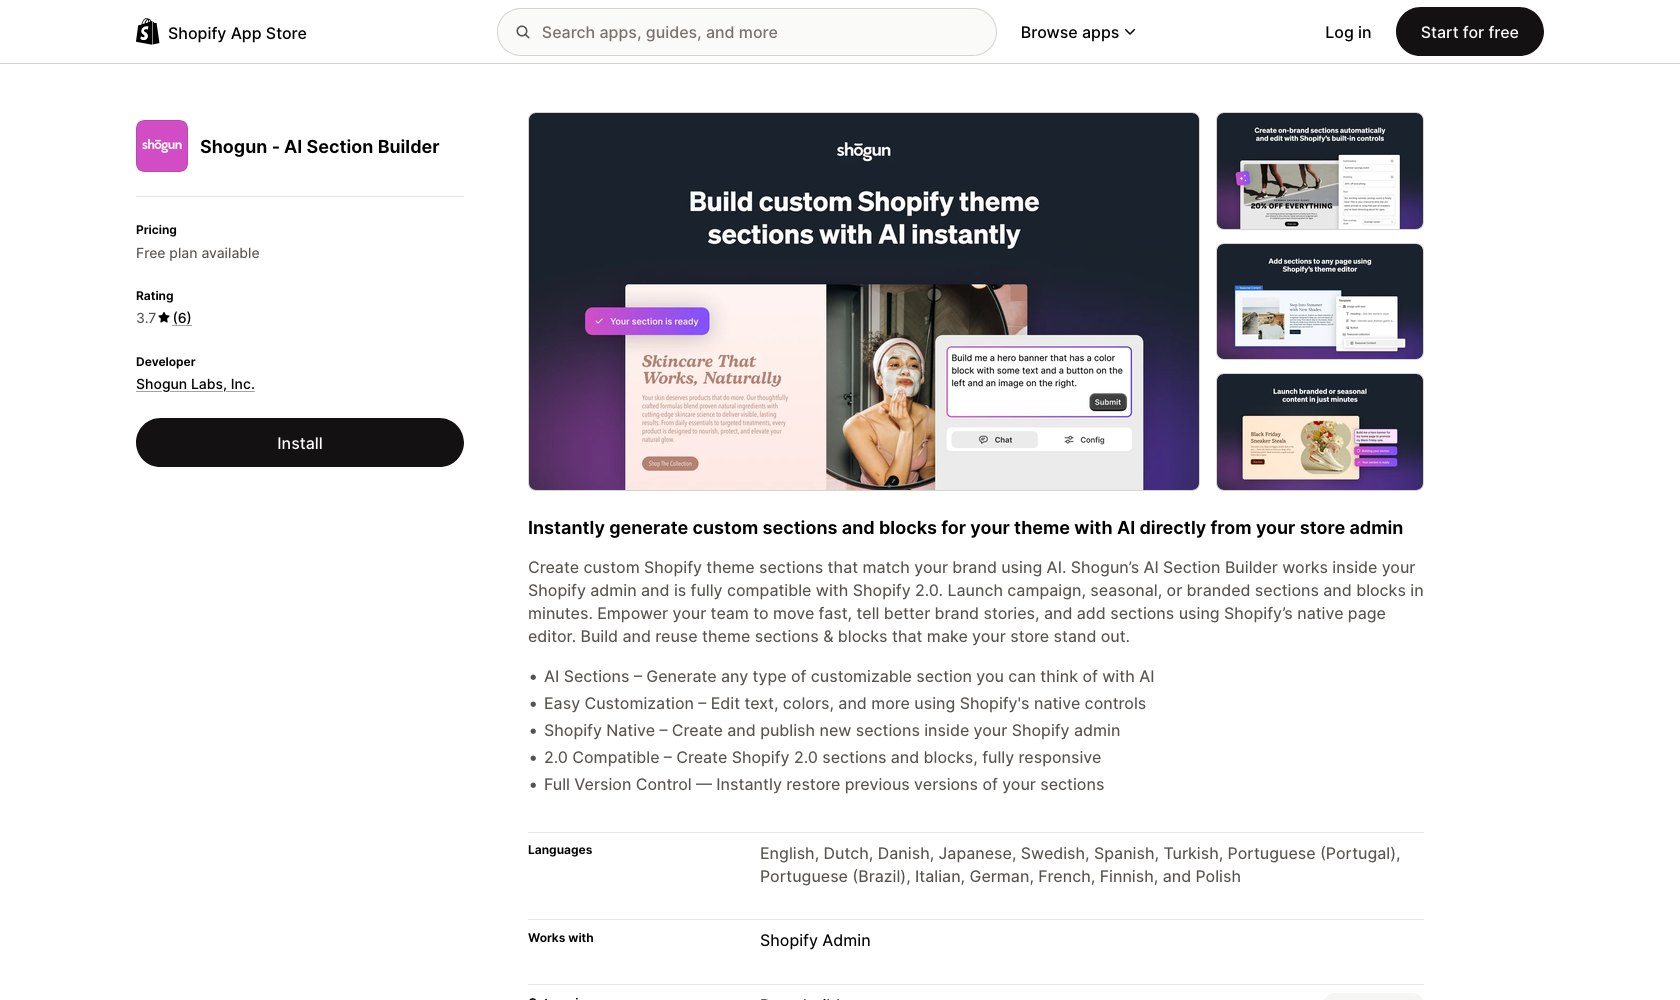
| Shogun AI Section Builder | 3.7 (6) | 1 section; 10 prompts/day | Pro $19; Unlimited $199 | Native theme-section generation | Native-editor sections |
Prices and ratings reflect Shopify App Store listings as of November 2026. Confirm the current listing before installing.
Test one app against a specific task:
- Choose a representative page. Start with a campaign landing page, not the whole store.
- Reuse your design brief. Include mobile behavior and the content you need to edit afterward.
- Confirm the publishing destination. Keep the test off your live storefront until reviewed.
- Check the exit path. Establish what remains visible and editable after uninstalling or downgrading.
Compare operating limits, not just entry prices:
- AI credits: Revisions can consume your allowance before the design is finished.
- Publishing slots: A free page doesn’t mean unlimited live pages.
- Extra code: Compare performance before and after installation.
- App dependency: Don’t assume every builder exports an independent native section.
GemPages MCP and PageFly’s connector let compatible AI agents work with the builder from chat tools such as ChatGPT or Claude. The connection does not guarantee access to every builder action.
For Shogun AI Section Builder, test small revision requests before paying. App Store user feedback includes whole-section rebuilding instead of targeted edits, and its review base is small.
Milestone: You have a tested builder candidate or a decision to stay native. We recommend apps for frequent campaign work; skip the subscription for occasional custom sections.
Step 8: Test and Troubleshoot AI-Generated Code
Shopify Support doesn’t troubleshoot AI-generated block code, so isolate failures before asking AI to rewrite anything. Test the edited component and the buying path around it.
- Preview on mobile: Use the editor’s device toggle, then a real phone. Check for clipped images, overlapping text and horizontal scrolling.
- Compare speed: Open the same page before and after the change, using the same device and connection. Repeat the comparison rather than trusting a single load.
- Check code warnings: Review errors flagged by the editor. Developers can also run Shopify’s Theme Check tooling.
- Test keyboard access: Tab through generated buttons and links. Confirm that focus remains visible.
- Check purchasing: Test product links, variant selection, Add to cart and checkout entry from edited templates.
| Symptom | Likely cause | Fix |
|---|---|---|
| Section missing from Add section | Missing named preset | Add presets to the schema and save |
| “Unknown tag ‘schema’” | Full section pasted into Custom Liquid | Move the file into sections/ |
| Generate missing or block won’t add | Incompatible section, permissions or schema | Check Step 3; try a compatible Horizon section |
| Template absent from Pages dropdown | Template exists only in an unpublished theme | Coordinate assignment with publishing; don’t publish unfinished work |
| Mobile clipping | Fixed widths or unsuitable responsive styles | Request a targeted media-query fix |
| Styling affects other sections | Unscoped selectors | Scope file-based CSS to #section-{{ section.id }} |
| Preview works but live doesn’t | Different theme or code context | Confirm the published theme and compare its code |
Distinguish Liquid files from Custom CSS fields. The section-ID example belongs in a Liquid file’s style block; don’t paste it into an editor field that doesn’t process Liquid.
Supply the exact failure when requesting repairs:
Fix only the mobile clipping in this Shopify section.
Expected: all text and images remain visible without horizontal scroll.
Actual: the left panel is clipped on a narrow screen.

Current section code: [paste code]
Preserve the schema, settings and working desktop layout.
Explain which lines need replacing.
Retest after every repair. A media query that fixes clipping can still hide a button or create an oversized gap. Check the desktop layout again before accepting the change.
[Screenshot to add: Shopify theme editor mobile preview showing Trust badges without overflow]
Check the narrow layout before accepting a desktop-only preview. Source: ecomm.design
Milestone: Edited pages work on desktop and mobile. If repeated fixes fail, remove the experiment and regenerate with a narrower prompt; never move schema-bearing code into Custom Liquid.
Step 9: Preview, Publish and Roll Back Safely
Publishing is reversible if you keep the previous theme. Complete the final review on your duplicate before making it customer-facing.
- Review edited templates on desktop and mobile. Include representative product and collection pages, not just the homepage.
- Repeat the buying path. Check Add to cart, checkout entry and links after the last code change.
- Compare performance with the original. Investigate new delays before accepting the redesign.
- Confirm app blocks and embeds. Inspect the actual storefront preview, especially after Canvas changes.
- Share the preview. Open Themes > three-dot menu > Preview and use the preview-sharing option for a second review.
Publish only after those checks pass:
- Make the duplicate live: Choose Publish from its theme menu and confirm.
- Retain the old theme: Publishing moves the previous design into the library.
- Roll back the design: Publish the previous theme again if the new version causes problems.
- Reverse smaller changes carefully: Use available theme or file history to restore an individual edit.
- Keep the backup: Removing an unpublished theme is permanent.
Theme rollback restores the theme, not every store-wide change. Keep a separate record of product content and app configuration changes made outside the duplicate.
After publishing, open the live storefront, not just the editor preview. Repeat the cart check and confirm that the expected theme is visible.
We recommend avoiding a broad redesign immediately before Black Friday on November 27, 2026. Keep unproven experiments unpublished during that sales period.
Milestone: Your tested design is live with a known rollback theme. Browse the Shopify stores in the ecomm.design gallery and turn one useful layout idea into your next focused Sidekick prompt.
FAQ
Can I customize my Shopify theme without coding?
Yes. Theme settings handle global styling, and the editor lets you arrange supported sections and blocks without code. Shopify Magic helps with text, while Sidekick generates custom blocks inside compatible sections. Start with Steps 2 through 4 before installing an app or asking ChatGPT to write a complete Liquid section file.
Is Shopify Sidekick free to use?
Shopify doesn’t list a separate Sidekick price; you access it through Shopify admin. Feature availability depends on your store and permissions. Starter doesn’t support the custom-block workflow described here, so access to Sidekick does not guarantee every theme-editing feature. Check for Generate in a compatible section and confirm that your account has Edit code permission.
Is Shopify Canvas free and can I use it on any theme?
No separate Canvas price has been announced, and it doesn’t support every theme. Early access covers eligible Shopify-made and custom themes, not third-party Theme Store themes. Look for Duplicate in Canvas on desktop. As Step 5 explains, the Canvas-edited copy cannot return to the classic editor or receive theme updates.
Why doesn’t my custom section show up in the theme editor?
A missing named entry in the schema’s presets array is a common cause. Check that the schema contains valid JSON and the file lives in sections/ in the same theme you’re customizing. Save before reopening Add section. Step 8 distinguishes this problem from template-assignment issues and missing block-generation controls.
Will customizing my theme stop theme updates?
Code edits can complicate updates; Canvas-edited copies stop receiving theme updates altogether. Don’t assume custom Liquid or CSS will transfer unchanged into an updated theme. Keep a record of edited files and preserve the working version. For a classic-editor theme, review the updated copy’s settings and customizations before publishing it.


