Canva has become a go-to tool for anyone looking to create stunning graphics effortlessly. One of its most powerful features is layering images.
If you’ve ever wondered, how do you layer pictures in Canva, this guide will walk you through the process step-by-step.
Whether you’re designing social media posts, business flyers, or personal projects, mastering layering is key to taking your designs to the next level.
What you’ll Learn in this Article
- Learn the step-by-step process for layering pictures in Canva.
- Explore advanced layering techniques like transparency and grouping.
- Avoid common mistakes and create professional-grade designs.
What is Layering in Canva?
Layering in Canva refers to the process of stacking and arranging images, text, or other design elements to create depth and balance in a graphic. Layers allow you to control which elements are visible on top, in the middle, or in the background.
For example:
- Use a photo as the background.
- Add text on top.
- Place a decorative element behind the text for a professional look.
Layering is essential in design because it helps focus the viewer’s attention on key areas and enhances the visual appeal.
Step-by-Step Guide: How Do You Layer Pictures in Canva?
Layering pictures in Canva is simple once you get the hang of it. Follow these steps to start layering like a pro.
Layering in Canva is straightforward with its drag-and-drop interface and intuitive tools. Follow these steps to master the basics:
Step 1: Start Your Canva Project
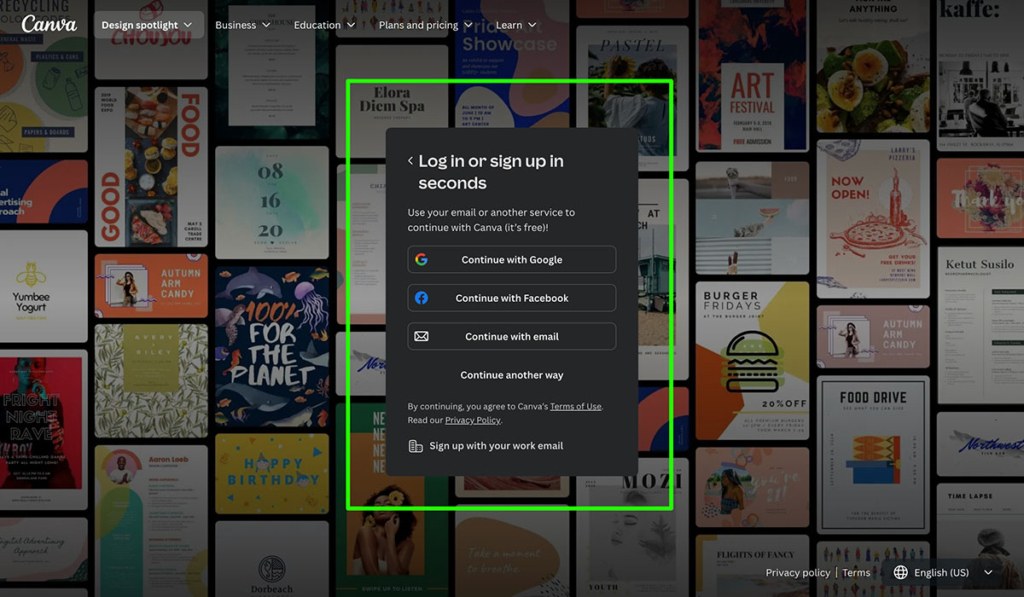
Log in to your Canva account.
Create a new project by selecting a template or setting custom dimensions.
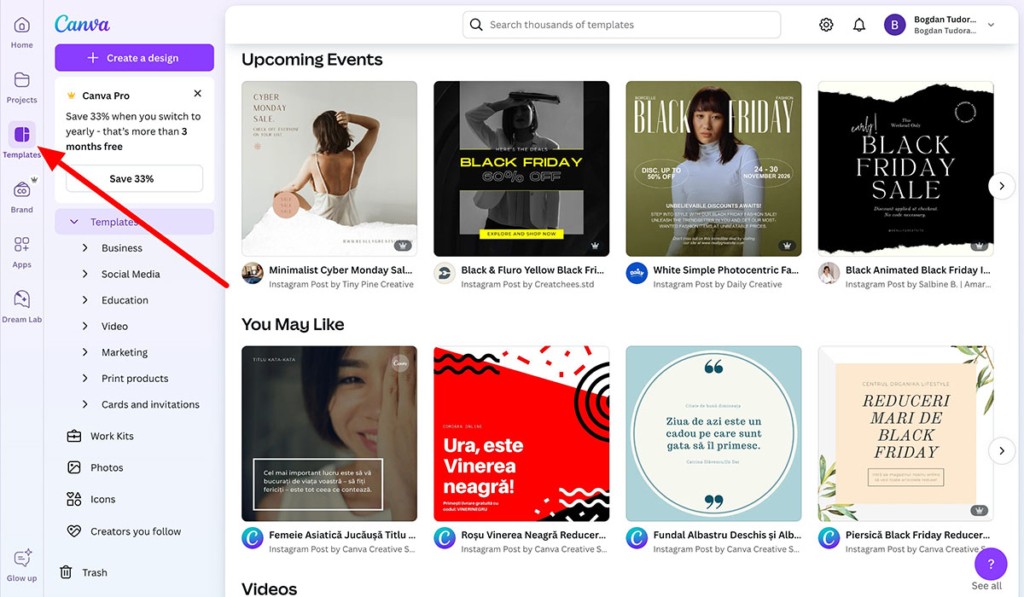
Open an existing project if you’re editing a design.
Tip: Use templates to explore pre-arranged layers.
Step 2: Add Images to Your Design
Drag and drop images from your computer or choose from Canva’s library.
Place them onto the canvas.
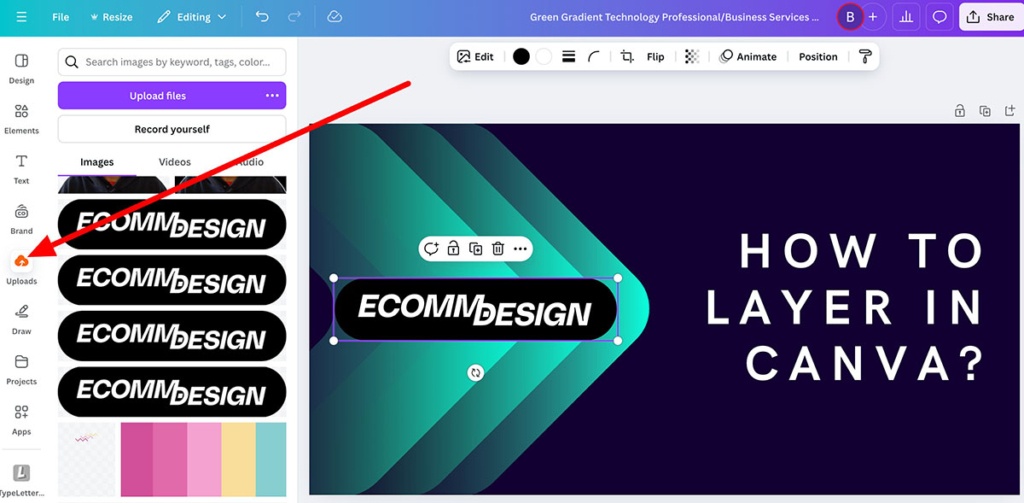
Step 3: Arrange Layers Using the “Position” Tool
Click on an image.
Use the Position tool (top-right corner) to adjust layers:
“Forward” to bring an image closer to the foreground.
“Backward” to send an image toward the background.
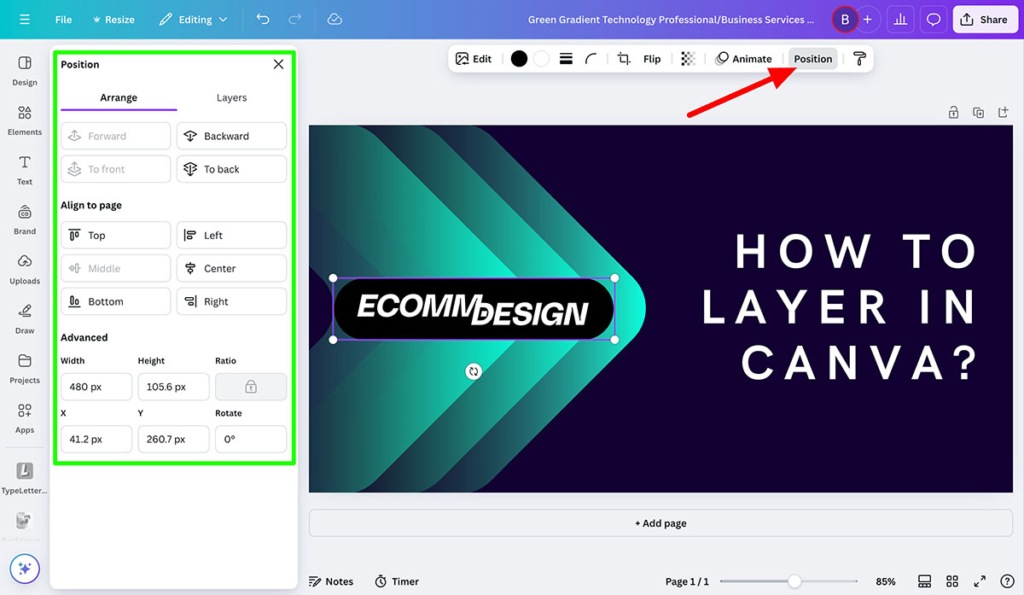
Shortcut: Use keyboard shortcuts:
- Ctrl + [ (Send backward)
- Ctrl + ] (Bring forward)
Continue until your layers are in the desired order.
Step 4: Lock Layers to Maintain Layout
Once your layers are positioned perfectly, select an image and click the lock icon.
This prevents accidental movement when adjusting other elements.
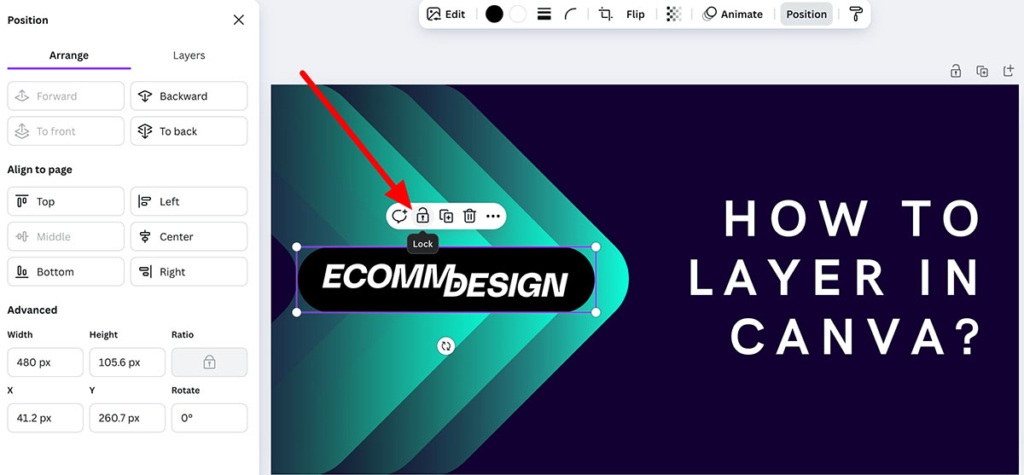
Why Locking Helps: Prevents accidental misalignment while you work on other layers.
Advanced Layering Techniques
Once you’ve mastered basic layering, these advanced techniques will help elevate your designs:
Use Transparency
- Adjusting transparency can make images blend seamlessly.
- Select an image, click the Transparency icon (checkerboard symbol), and use the slider to control its opacity.
- Use this feature to create overlays or add a subtle background effect.
Example: Add a transparent white layer over a photo to make text stand out.
Group Layers
- Select multiple elements by holding Shift and clicking on each one.
- Right-click and choose Group.
- Grouped elements move, resize, and rotate as one unit. This is useful for maintaining consistent layouts.
Snap and Align
- Canva’s gridlines help ensure elements are aligned properly.
- As you move elements, they snap to the grid or align with other objects.
- This feature ensures designs look clean and professional.
These advanced techniques let you add depth and polish to your designs.
Common Mistakes When Layering Pictures in Canva
Even with Canva’s intuitive design tools, mistakes can happen. Here are some common pitfalls and how to fix them:
- Overcrowding Layers
- Problem: Too many elements clutter the design.
- Solution: Prioritize key elements and remove unnecessary layers.
- Forgetting to Lock Layers
- Problem: Elements shift accidentally during editing.
- Solution: Always lock layers after positioning them.
- Misusing Transparency
- Problem: Overuse of transparency can make designs look washed out.
- Solution: Use transparency sparingly for subtle effects.
Canva Pro vs. Free: Does It Affect Layering?
The good news is that layering is available in both Canva Free and Canva Pro versions. However, Canva Pro offers additional features that enhance layering, such as:
- Magic Resize: Resize designs without disrupting layers.
- Premium Templates: Access templates with pre-arranged layers for faster design.
If you frequently use Canva for professional projects, Canva Pro is worth considering.
Canva Pro vs. Free: Layering Features
Canva’s layering tools are available in both the Free and Pro versions. However, Canva Pro offers additional features that make layering more efficient:
- Premium Templates: Pro templates often include pre-designed layers, saving time.
- Magic Resize: This tool resizes designs for different platforms without disrupting layer arrangements.
- Background Remover: Quickly isolate subjects in photos to layer them seamlessly.
For casual use, Canva Free is sufficient. Canva Pro is worth considering if you use Canva for business or professional projects.
FAQs About Layering Pictures in Canva
How do you layer pictures in Canva on mobile?
Canva’s mobile app has the same layering features as the desktop version. Use the Position tool to adjust layers, and pinch-to-zoom for finer adjustments.
Can you layer videos with pictures?
Yes, Canva allows you to combine videos and images in one design. Use the same Position tool to arrange multimedia layers.
How do I fix overlapping layers?
Click on the element that’s overlapping incorrectly and use the Position tool to adjust its order.
Final Thoughts
Layering pictures in Canva is a game-changer for creating standout designs. Whether you’re a beginner or a seasoned designer, mastering this skill will unlock endless creative possibilities.
By following the tips in this guide, you’ll be layering like a pro in no time!
Read more:


